

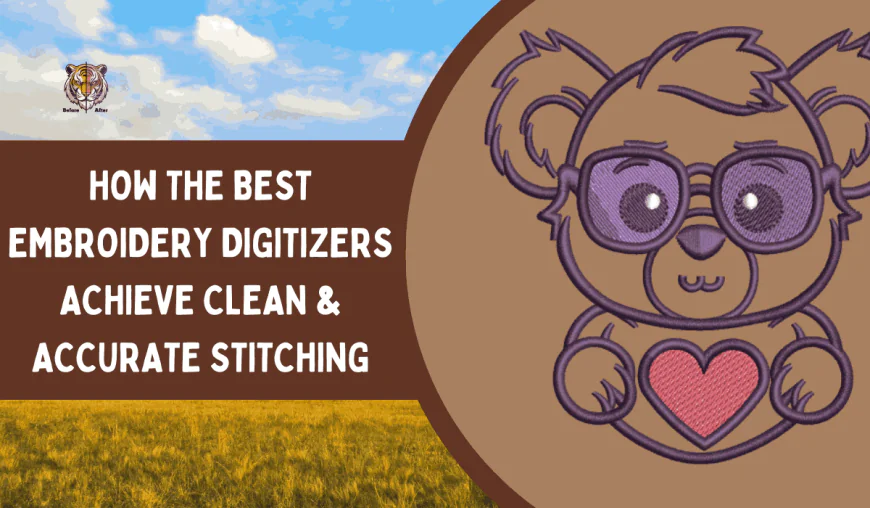
How the Best Embroidery Digitizers Achieve Clean & Accurate Stitching
Discover the secrets of the best embroidery digitizers. Learn how proper underlay, pathing, and density control ensure clean, accurate, and high-quality stitching.
In the embroidery industry, the definition of quality is visible at a glance. You pick up a finished cap or polo shirt, and you instantly know if it looks "expensive" or "cheap." That perception of quality isn't just about the brand of the shirt or the type of thread used; it is almost entirely dependent on the clarity of the design. The best embroidery digitizers know that achieving clean, accurate stitching is not an accident. It is a calculated engineering process that prevents the common nightmares of thread breaks, bird nests, and distorted logos.
For business owners and production managers, nothing is more frustrating than a machine that keeps stopping or a design that sews out looking messy. Often, the blame is placed on the machine operator or the tension settings, but the root cause is frequently a poor digitizing file. Clean stitching requires a file that respects the physical limitations of needle and thread. It requires a digitizer who understands how to build a stable foundation and layer stitches so they sit perfectly on top of the fabric rather than sinking into it.
This guide explores the specific technical methods used by top-tier professionals. We will look beyond the basic software tools and dive into the strategies that ensure every outline meets perfectly, every letter is legible, and every sew-out is crisp. If you want to elevate your embroidery output, understanding these principles is the first step toward perfection.
The Foundation: Proper Underlay Settings
If you imagine an embroidery design like a house, the underlay is the concrete foundation. You cannot see it when the house is finished, but if it is weak, the whole structure will crack and sink. Amateur digitizers often skip or use generic auto-underlay settings to save time. However, the best embroidery digitizers manually customize the underlay for every specific segment of the design.
Underlay serves two main purposes: it attaches the fabric to the backing (stabilizer) to prevent shifting, and it lifts the top stitches up so they don't get lost in the nap of the fabric. For example, on a thick towel, a heavy "grid" or "double tatami" underlay is necessary to flatten the loops of the terry cloth. Without it, the top stitches would sink in, looking messy and jagged.
On the other hand, for a thin dress shirt, that same heavy underlay would show through and look bulky. A skilled digitizer might use a simple "center run" or "edge run" underlay instead. By tailoring this invisible layer, they ensure that the visible top stitches have a smooth, stable surface to rest on, resulting in edges that are sharp and defined rather than fuzzy.
Sequencing: The Art of the Path
One of the biggest differences between a messy file and a clean one is the path the machine takes. Inefficient sequencing leads to unnecessary jumps and trims. Every time the machine has to trim the thread and move to a new location, there is a risk of the thread pulling out or a "tail" being left behind that needs to be hand-trimmed later.
The best embroidery digitizers plan the path to be continuous. They use "traveling stitches"—lines of stitching that will eventually be covered up by later parts of the design—to move from one area to another without cutting the thread. This technique, often called "branching," keeps the machine running at a steady rhythm. A steady machine produces consistent tension, which leads to cleaner, more uniform stitches.
Furthermore, proper sequencing prevents the "pushing" of fabric. If a large fill area is digitized from one side completely to the other, it acts like a snowplow, pushing a wave of fabric in front of it. By the time the needle reaches the end, the registration will be off. Pros often digitize from the center out, or divide large fills into sections, to distribute this displacement evenly and keep the fabric flat.
Mastering Cornering and Sharp Edges
Creating a sharp, 90-degree corner with a piece of thread is physically difficult. Thread wants to curve. If a digitizer simply directs a column of satin stitches to turn a corner without adjustment, the stitches on the inside corner will bunch up and overlap, creating a hard knot. Meanwhile, the stitches on the outer corner will fan out, exposing the fabric underneath.
To achieve razor-sharp corners, skilled digitizers use a technique called "short stitching" or "capping." In a turn, they instruct the software to stop some stitches short of the inside corner. This reduces the bulk on the inside while maintaining full coverage on the outside. This prevents needle breakage and ensures the corner looks like a crisp geometric angle rather than a rounded blob.
For very sharp points, like the tips of a star or the serifs on a font, they utilize "mitering." This splits the satin stitch into two separate angles that meet perfectly in the middle. These small technical adjustments are invisible to the naked eye, but the result is a design that looks professionally manufactured rather than homemade.
Variable Density for Gradients and Shading
Standard embroidery fills are solid blocks of color. However, modern branding often requires gradients, fading colors, or realistic shading. Achieving this with thread is challenging because you cannot simply lower the opacity like you can in Photoshop. You have to physically mix threads on the fabric.
The best embroidery digitizers achieve this through variable density. They gradually decrease the density of one color while increasing the density of another, allowing the two colors to blend visually. This is often called "accordion spacing" or "gradient fill." If done poorly, this looks like stripes or chunky blocks of color.
When done correctly, the transition is seamless. The digitizer must carefully calculate the density so the fabric doesn't show through the blend, but also so the combined thread count isn't so high that it creates a stiff, bulletproof patch. This delicate balance of layering is what allows for photorealistic embroidery and soft, artistic shading effects.
The Secret to Crisp Outlines
Nothing ruins a design faster than an outline that doesn't line up with the fill. You see the color, a gap of fabric, and then the black outline. This registration error happens because stitches pull the fabric in. If the fill stitches pull the fabric inward by 1mm, the outline needs to be moved inward by 1mm to match.
Skilled digitizers do not trust the screen. They know that what looks lined up on the monitor will be off on the machine. They overlap the fill stitches and the border stitches significantly. This is called "trap work." The fill must extend underneath where the border will eventually be placed.
Additionally, the sequence matters. A pro will usually finish a section of fill and immediately outline it before moving to a distant part of the design. If they fill the whole design first and then come back to outline everything at the end, the fabric has had too much time to shift and distort. By outlining "as they go," they ensure the registration remains tight and accurate throughout the entire run.
Conclusion
Clean and accurate embroidery is rarely the result of luck. It is the result of physics, planning, and precision. The best embroidery digitizers are not just tracing images; they are engineering a structure that must survive the violent process of being punctured by a needle thousands of times.
From the invisible foundation of underlay to the strategic pathing that eliminates trims, every click of the mouse affects the final quality. By understanding how to manage density, execute sharp corners, and compensate for fabric distortion, skilled digitizers turn thread into art. Whether you are running the machines or buying the service, recognizing these high-level techniques helps you set a standard of excellence for your brand.
FAQs
Q: Why do my small letters look like blobs?
Small text fails when the column width is too narrow or the density is too high. The needle and thread add bulk. The best embroidery digitizers will open up the spacing between letters and remove center-line underlay to reduce bulk, ensuring small text remains legible.
Q: What is the ideal stitch count for a logo?
There is no single "ideal" count; it depends entirely on the size and complexity. However, a skilled digitizer aims for the lowest possible stitch count that still provides full coverage. This keeps production costs down and prevents the garment from becoming stiff.
Q: How does fabric type affect digitizing accuracy?
Stretchy fabrics like performance knits or beanies are unstable and move significantly under the needle. They require more compensation (overlap) and heavier underlay than stable fabrics like denim or canvas. A file digitized for a jacket back will likely look distorted if sewn on a t-shirt without adjustment.
Q: Can auto-digitizing software achieve accurate stitching?
Generally, no. Auto-digitizing tools cannot predict the physical "push and pull" of specific fabrics or make logical decisions about pathing to avoid trims. While they are improving, they still lack the human intuition required for truly clean, professional results.
Q: What is "short stitching" in embroidery?
Short stitching is a technique used on tight curves or corners. Instead of every stitch going all the way to the inner edge (which would cause bunching and knots), every other stitch stops short. This maintains the curve's shape without piling up too much thread in one spot.


